
How to get a long-lived access token for Dropbox developer apps[.md]
In 2021, Dropbox announced they were deprecating long-lived access tokens for developer apps.
For whatever reason, the documentation on how to solve this problem is pretty scant, especially from Dropbox's side (and I work there!). I spent the better part of a weekend piecing clues together from different developer docs and blog posts and… I've solved it!
Hold on to your butts, because I'm about to walk you through exactly which spells you need to invoke and which one of God's fallen angels you'll need to bargain your soul with to in order to generate a long-lived refresh token for your Dropbox developer app.
Step 1. Create a Dropbox developer app
First, you need to create your a Dropbox developer app.
Navigate to your App Console on the Dropbox Developer portal, and create a new app.
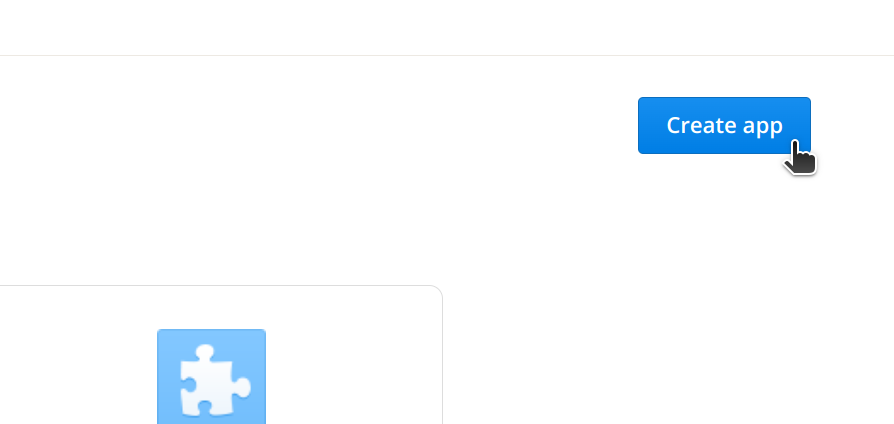
The exact app configuration here doesn't matter so much, as it will be specific to your needs. But if it helps, I chose Scoped access and Full Dropbox.
Click Create app to finish.
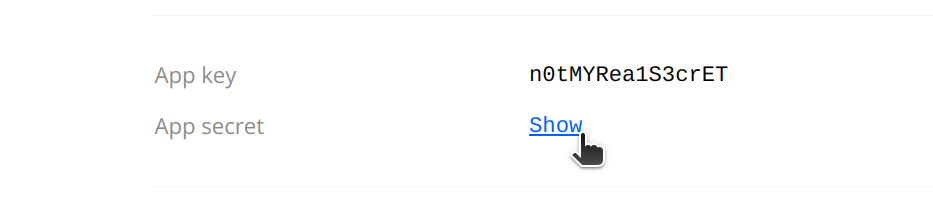
On the next page, take note of your App key and App secret. We'll need these multiple times in the future.
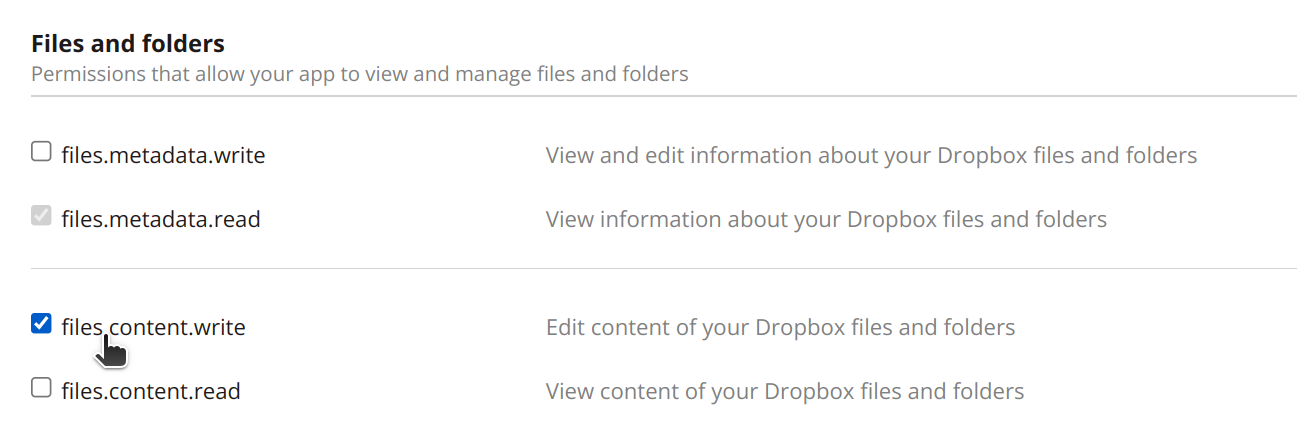
If you chose Scoped access for Step 1, don't forget to navigate to Permissions and select the checkbox for whatever permissions your app needs to have.
For my use case, I needed to enable write permissions in order to upload files.
Step 2: Generate a refresh token
In order to interact with Dropbox's API, we need to obtain a refresh token. To do this, first you'll need to authorize the app on your account and obtain an access code.
To generate an access code, visit the following URL in your web browser, making sure to replace <app key> with your Dropbox app's App key from the end of the previous step.
https://www.dropbox.com/oauth2/authorize?client_id=<app key>&token_access_type=offline&response_type=code
When you land on this page, you will see a warning about the kind of permissions the app will have on your account if you authorize it. Since this is your your Dropbox developer app with your App key and not anyone else's, you can disregard this warning, and click Continue to move on to the next step.
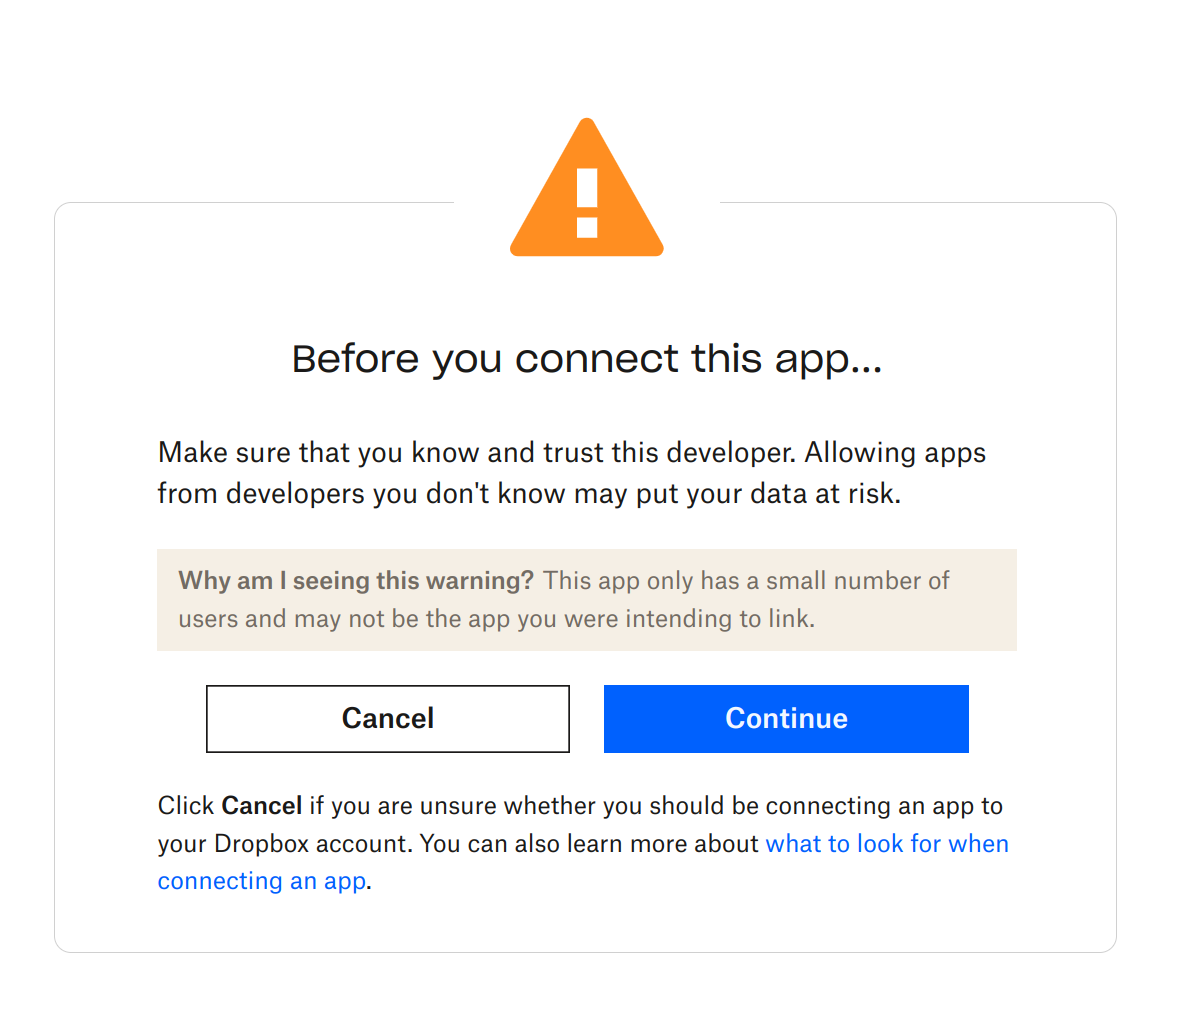
Approve your app.
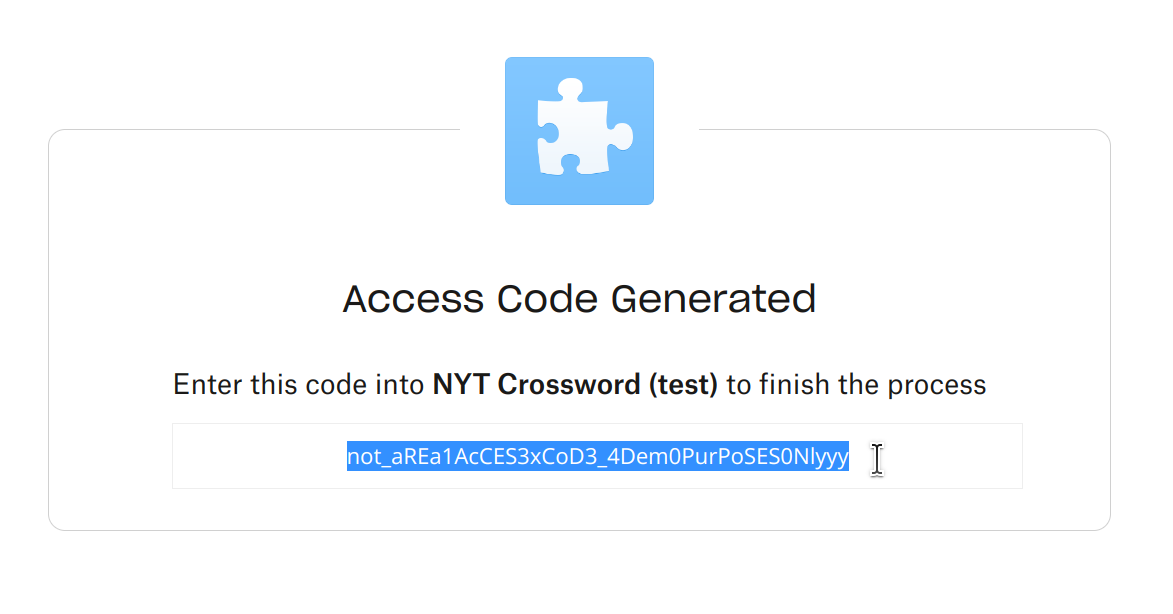
On the next screen, you will see your access code. Copy this or write it down somewhere, you will need it in just a moment.
Now let's create a refresh token.
Note: You will need to do this step within approximately five minutes, or the access code will expire. If the code has expired, simply open a new tab with the URL you generated a few steps ago and re-authorize the application like you did before.
To create the refresh token, you'll need to make the following cURL request from your terminal, making sure to replace some of the parameters with your own values you obtained in previous steps.
curl https://api.dropbox.com/oauth2/token \
    -d code=<access code> \
    -d grant_type=authorization_code \
    -d client_id=<app key> \
    -d client_secret=<app secret>
Send the request.
You should get JSON returned back to you, regardless of whether it worked. If all went well, you'll see a refresh_token in there somewhere. Grab that and—huzzah!—this is your long-lived refresh token!
If that request failed, sorry bub you're SOL.
Step 3: Using the API
You can now use your refresh token where you might have previously used an access token.
Here's uploading a file buffer, for example:
import dropbox from 'dropbox';

const dbx = new dropbox.Dropbox({
  clientId: '<your app key>',
  clientSecret: '<your app secret>',
  refreshToken: '<your refresh token>',
});

const res = await dbx.filesUpload({
  path: '/Documents/Foobar',
  contents: someFileBuffer,
});
I hope this helps! If this worked for you (or didn't), please consider leaving a comment. Take care!
Comments